Industry
Top 5 KPIs: Richard Townshend

“We started off with some key indicators that we needed to follow regularly, and ultimately these have been improved and incorporated into the Trev reports that we use today.”
- Richard Townshend, Director & Farm Supervisor, Dairy Direct
Richard farms on the Hauraki Plains and is also a director of farm supervisory company Dairy Direct which oversees the daily operations of around 35 dairy units in the greater Waikato and has just expanded into Southland. Richard shares some of key indicators that he and the Dairy Direct farm supervisors follow regularly to track and benchmark farm operational performance.
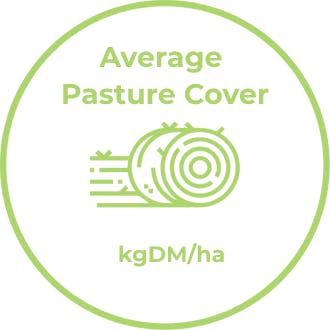
Average pasture cover
When it comes to feed, average pasture cover at the start of calving is a non-negotiable and my number one rule is don’t ever sacrifice next season.
Here in the Waikato we target 2400 kgDM/ha at the start of calving. If you don’t get this right you’re without a doubt going to run out of grass and will be relying on bought-in supplementary feed. For the system type we run this gets expensive so we focus on pasture cover as a priority. That’s not to say that sometimes climatically it can go against you and, when it does, we have levers we will pull to mitigate the impact such as drying off cows or buying in supplementary feed.
In terms of a framework, we have set bands that our farm team operates within. If grazing below 1450 then supplementary feed will be brought in. If grazing above 1600 then silage will come out.
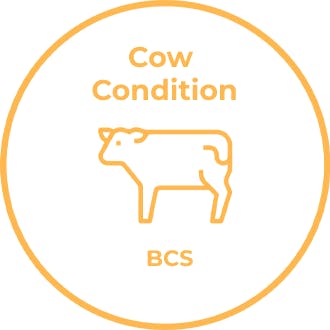
Cow condition
The next non-negotiable is body condition score:
At start of calving
Cow condition at the start of calving directly correlates with 6 week in-calf rates and per cow production. We operate within the industry standards for body condition scoring. This framework suggests scoring of 5 for cows and 5.5 for in-calf heifers and second calvers. Managing body condition in early lactation is critical as well as understanding nutrient requirements to prepare the herd for mating.
At 22 months (In-calf Heifer Liveweight)
A key driver of production is to grow young stock well and for us that is ensuring when cows calve and enter the milking herd for the first time they’re at the right weight and frame. We focus on liveweight targets at 22 months to assess this and again use DairyNZ targets as our framework.
To ensure our cows are well maintained we run split mobs with different feeding levels and are drafting cows in accordance with that, either for maintenance feeding or weight gain.
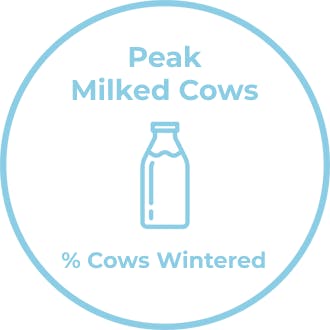
Peak Milked Cows
We calculate this by taking the actual cows in the vat at peak, divided by the cows wintered at the start of the season. This also captures losses and wastage (such as surprise empties, culls or “missing” animals).
This is an important one for me as our budgets are geared around how many cows we get to peak milk. We make sure that we get as many cows as we can in the system at peak as possible, after that it becomes dependent on a number of environmental factors such as climate which is outside of our control.
If we’re going to be incurring the cost of wintering cows, we need to get a return on that by maximising production and ensuring they’re in the vat at peak is fundamental to that. For us and where we farm in the Waikato a good result sits around 97-98% of cows wintered.
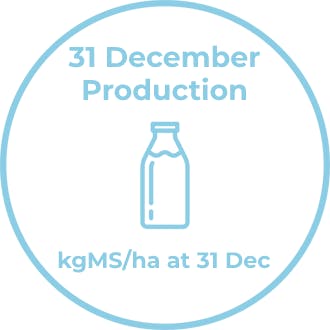
31 December Production
Because we farm on the Hauraki Plains it’s really important to have a good understanding of what production is doing on 31 December. Beyond this date we’re at the mercy of the weather gods so this is really about controlling what we can - up until this date it’s generally a relatively controlled environment and we should be able to hit the same production levels each year.
A good result for a Plains farm is probably around 300 kgMS/ha whereas somewhere like Southland you might be looking at 500 kgMS/ha (and you may well assess this at a slightly later date than 31 December).

Total wastage for the season
Animal health and good animal husbandry plays an important part to keep this number as low as possible.
From a production perspective, we want to keep as many cows in the system as we can as generally wastage is directly linked to profitability; so the lower we can keep this number, the more surplus animals we have available for sale which also adds revenue back into the business.
When we’re talking about wastage we’re talking about deaths, petfood and “missing” animals and our target here is <3%. We also consider this alongside Empty Rate as, the fewer losses and fewer empty animals, it means more discretion with our replacements in terms of herd improvement for productivity or physical traits.
The Tune Up Podcast
Listen on your favourite podcast platform
More articles
The Tune Up
50 shades of hay
Richard Townshend & Jim Van Der Poel. System 1 or System 5 all the best farms understand the principles of how to get the best out of their pasture.
Industry
Top 5 KPIs: Jim van der Poel
Jim's Top 5 KPIs offer some sage advice learnt from his years in farming. He says no matter what, "focus on the things you can control, have a plan, then you can work out what actions you’re going to take to get you through. Once the decision is made, implement and monitor. If circumstances change make a new decision."
The Tune Up
You can only spend a dollar once
Brent Goldsack & Simon Le Heron. You can always go after a quick buck, but whether it's sustainable or not is key.